
Drawing Trees Tutorial 1 — part 2
by Vincent D Whitehead ©2008Bark: Stumps and Trunks
For this tutorial I will be drawing mostly Maples, Oaks, and two different species of Pines. The main focus will be on the large, left foreground, Maple in the “Gilbert Home” portrait.
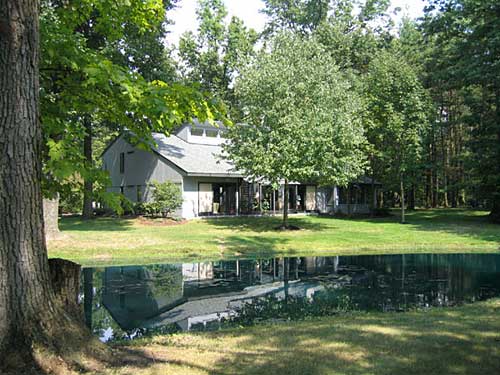
I start by making a light pencil sketch of the drawing taking into consideration what I have discussed with the home owner as to what is to be changed, eliminated or added to the drawing. In this drawing, the owner wanted the foreground of the pond edge to be removed, showing the water at the bottom edge of the drawing. I also made mention of opening the sky a bit and removing some of the foliage to give a less busy look to the image. I also intended to remove the shadow in the grass on the far bank that was being cast by the tree that was directly behind me when I took the photo. After taking these things into consideration, this is the sketch I ended up with.
This layout sketch is only a guide. It isn't like what your mother used to tell you — “Now, stay in the lines, Dear.”
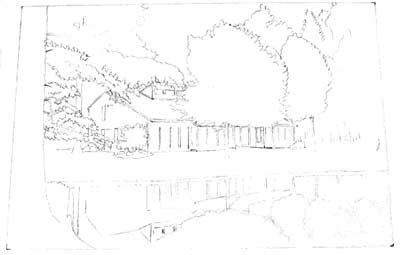
I don’t start in the same place on every tree I do. It depends on many things as to where I start. But in this one I knew that the base of the tree trunk, and the remaining stump from an earlier felling, would be the closest thing to the viewer, so that's where I started.
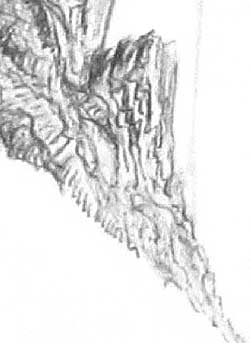
Taking my Fine point pen, I first insured I had good flow of ink on a scratch paper. Then, using my paper towel, I cleaned the ball tip. Using a very light touch, I begin by defining where the bark will be darkest and how it will run. I make light lines with my pen to give myself a line to follow or build on as I go.
*Remember — this is a layering process, so don’t attempt to go to the darkest of tones all in one stroke.
Note: I did not attempt to make an exact copy of the tree or the bark lines in the photograph for this drawing. The tree is NOT the main subject. As long as it is recognizable to the property owner/viewer as being the species of tree you are attempting to render, that will suffice. You don't have to have every bark line or leaf drawn in exactly the same position as in the scene or reference photo. Just be careful to capture prominent identifiers in the tree and it will be seen and recognized as being what it is and where it belongs. That is where artistic license is put to practice.
I started at the top of the cut edge of the stump and went down toward the ground. Be careful to follow the flow of the growth pattern of the tree. Bark starts out as a solid skin. As the tree grows the inner layers are forced toward the outside which forces the solid skin to age and split as it dries out and is weathered over time. You will need to consider the direction of your light source before trying to define the highlights too much. Getting the boundaries set for the bark lines allows you to see where the highlights will be. Consistency in light source and range in tonal value throughout the drawing will determine how believable the image is to the viewer.
After the defining lines are in I use a slightly angled line done in more of a scribble technique quickly and in short strokes to build depth behind the barks edge. Each line is drawn with a starting point just above where I want it to end, and drawn in a downward stroke that follows the contours of the bark section. This is where you want to avoid the blobs I discussed earlier. The stopping action of the pen stroke will build a more bold tone than where you started it due to the ink being heavier on the ball after it has been rolling a bit. This all happens in fractions of seconds without you thinking about it, but it is all a part of knowing your tools. Draw one and lift, place the tip, draw one and lift.
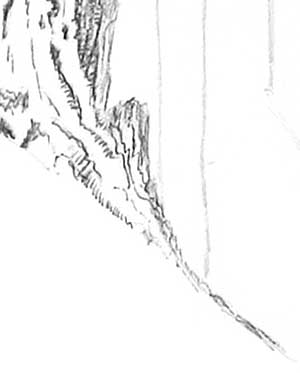
I then use the pen's edge at the ball and barrel to put in some light tone where I want to begin to show shadows. I call this a 'drag' technique. I really am using the edge at the ball to work through ink that I have just put down. I do this 'drag' in a top to bottom motion, working through the area only once before repeating the motion or moving on to the next area. Once I have worked the areas I will assess the overall tone achieved and decide if another layer is needed. If more tone is required, I will follow the lines I had previously drawn and put a new line of ink down. Then I use the drag technique through that area until I get the tone I want.

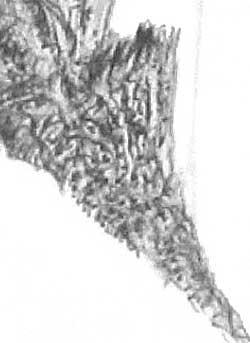
After just a few minutes you can see a basic line layout of where I intend the bark to be and where the darks and highlights will be. The results of two layers of the drag technique are also visible in this image at the outside edges of the stump.
After I have completed these lines I go back and start over with the 'drag' technique to blend and build shadows where needed. These lines are very short and light but, come together to create textures that are seen as natural.
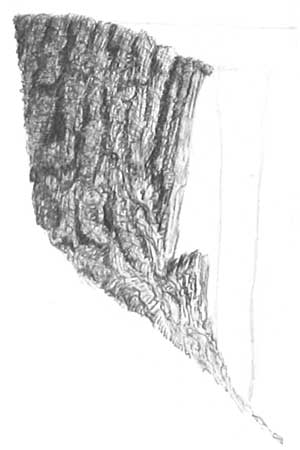
After a couple of more layers of using the drag technique, I ended up with the image you see here.
There are indications of light and dark areas in this image but, not enough contrast to make me happy. That will come with more light layers of ink but, before that happens, I want to build the texture more. To do this I use a stipple technique. Following the bark sections, I will stipple along the darkest edge. Layer the stipple points over one another to build shadowed areas. Place them closer together in the corners of the angled sections and then more separated in the open areas. This helps to build depth as well.
Section before stipple applied.
Section after application.
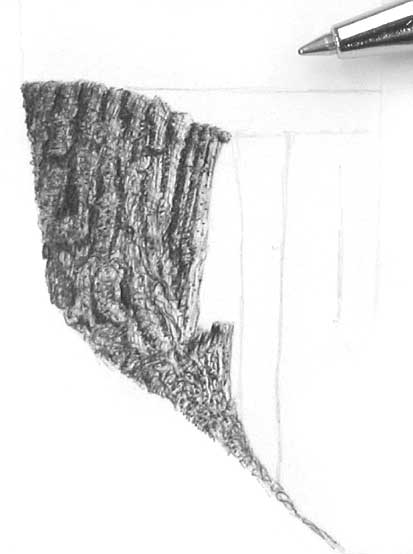
The tree stump so far after stippling has been applied.